



Home Assistant Connect ZWA-2
Home Assistant Connect ZWA-2
Couldn't load pickup availability
Home Assistant Connect ZWA-2: Next-Generation Z-Wave Controller

Take your smart home to the next level with Home Assistant Connect ZWA-2. This cutting-edge USB Z-Wave controller for Home Assistant Green offers superior range and exceptional performance thanks to its optimized antenna, allowing you to connect Z-Wave devices where other controllers cannot reach.
📚 Official Resources: Nabu Casa product page | Complete detailed documentation
Video Review
Key Features
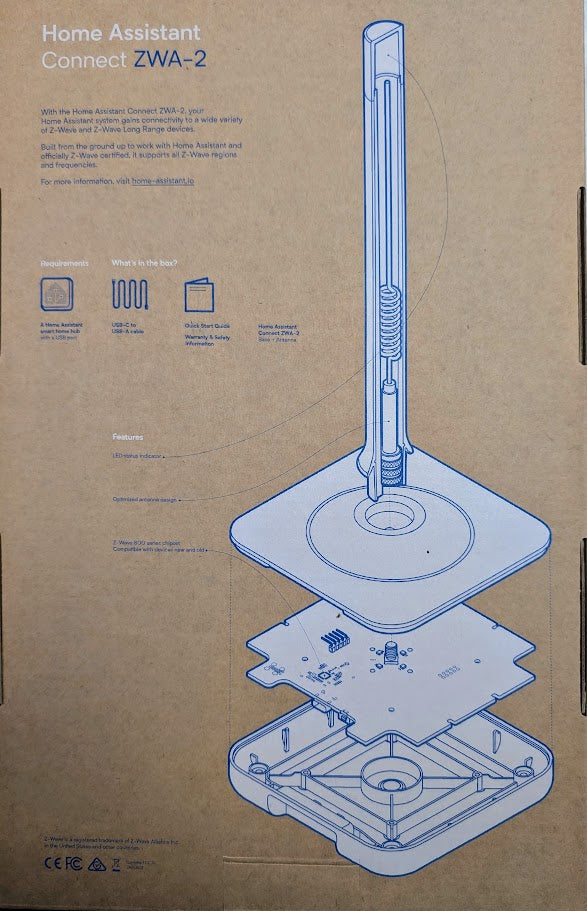
- Large Optimized Antenna: Reaches devices where other controllers cannot, ensuring superior coverage throughout the home.
- Dual Protocol Support: Compatible with both traditional Z-Wave mesh and Z-Wave Long Range for large-scale installations (up to thousands of devices).
- Zero Interference: Z-Wave operates on dedicated frequencies, avoiding conflicts with Wi-Fi and Bluetooth for superior stability.
- Energy Efficiency: The receiver's superior sensitivity reduces the need for device communication, extending battery life.
- Universal Support: Compatible with all global Z-Wave frequencies and regions (EU, US, AU, etc.).
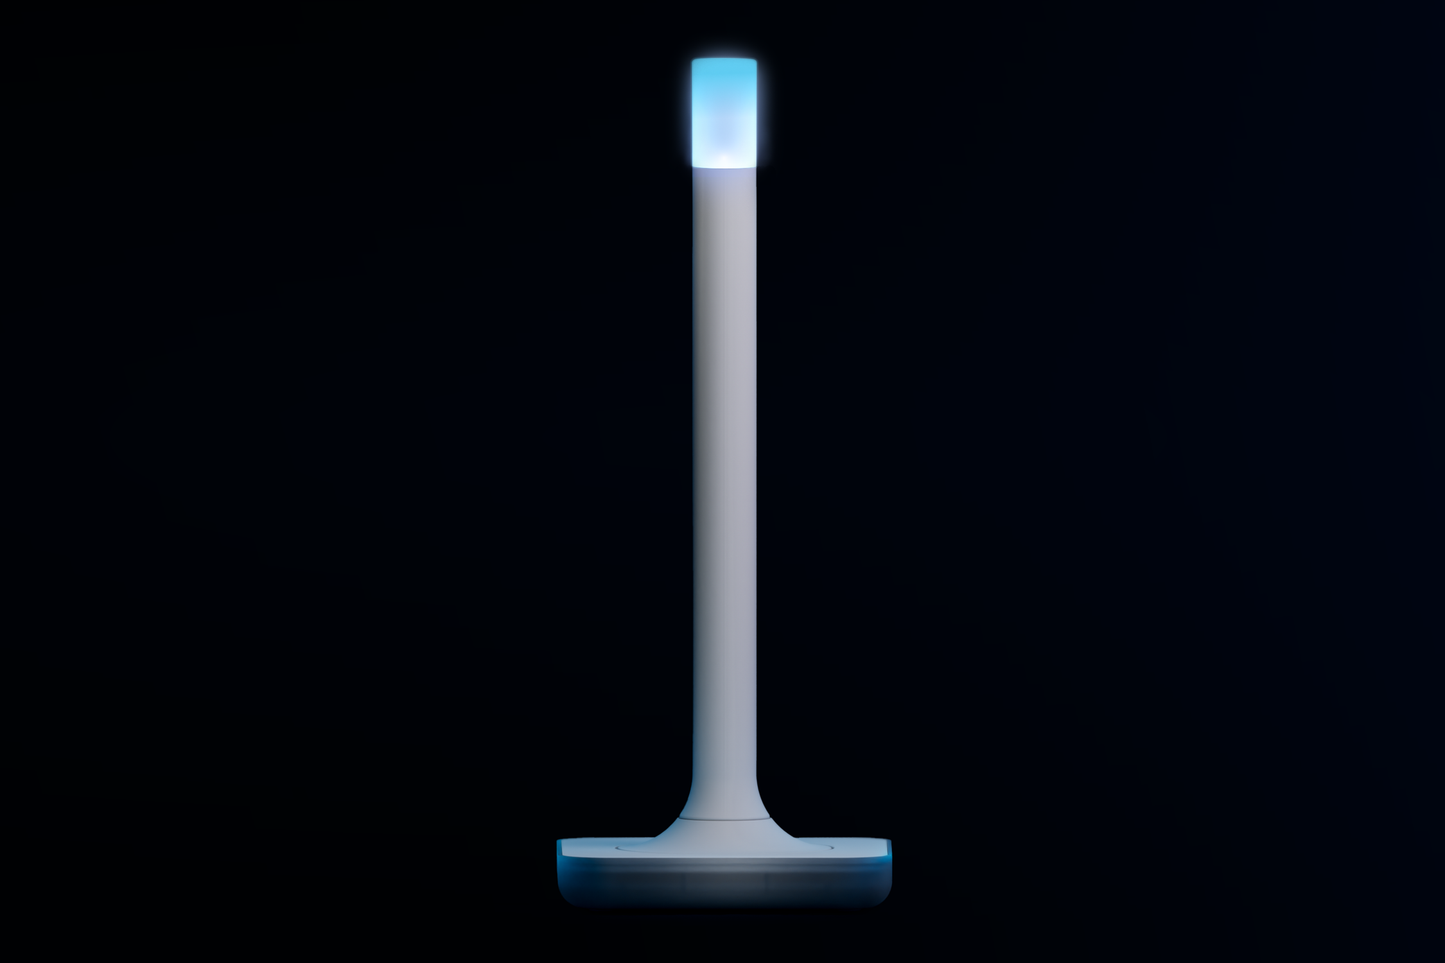
- Customizable Status LED: Clear visual indicators with customizable colors to monitor the system status.
- Certifications: CE, FCC, RCM - Quality and safety guarantee.
Why Choose Home Assistant Connect ZWA-2
The Connect ZWA-2 represents the ultimate evolution for your Z-Wave network. With its professional design and high-performance vertical antenna, it guarantees a reliable connection even through thick walls and over long distances. Z-Wave Long Range technology allows large-scale implementations while maintaining low power consumption.
Complete Installation Guide
1. Find the Ideal Location

Before installing the ZWA-2, it is essential to choose the optimal location:
- Avoid objects that can cause interference: thick walls, metal mesh, server racks, routers, USB 3.0 ports
- Maintain an adequate distance from other wireless transmitters
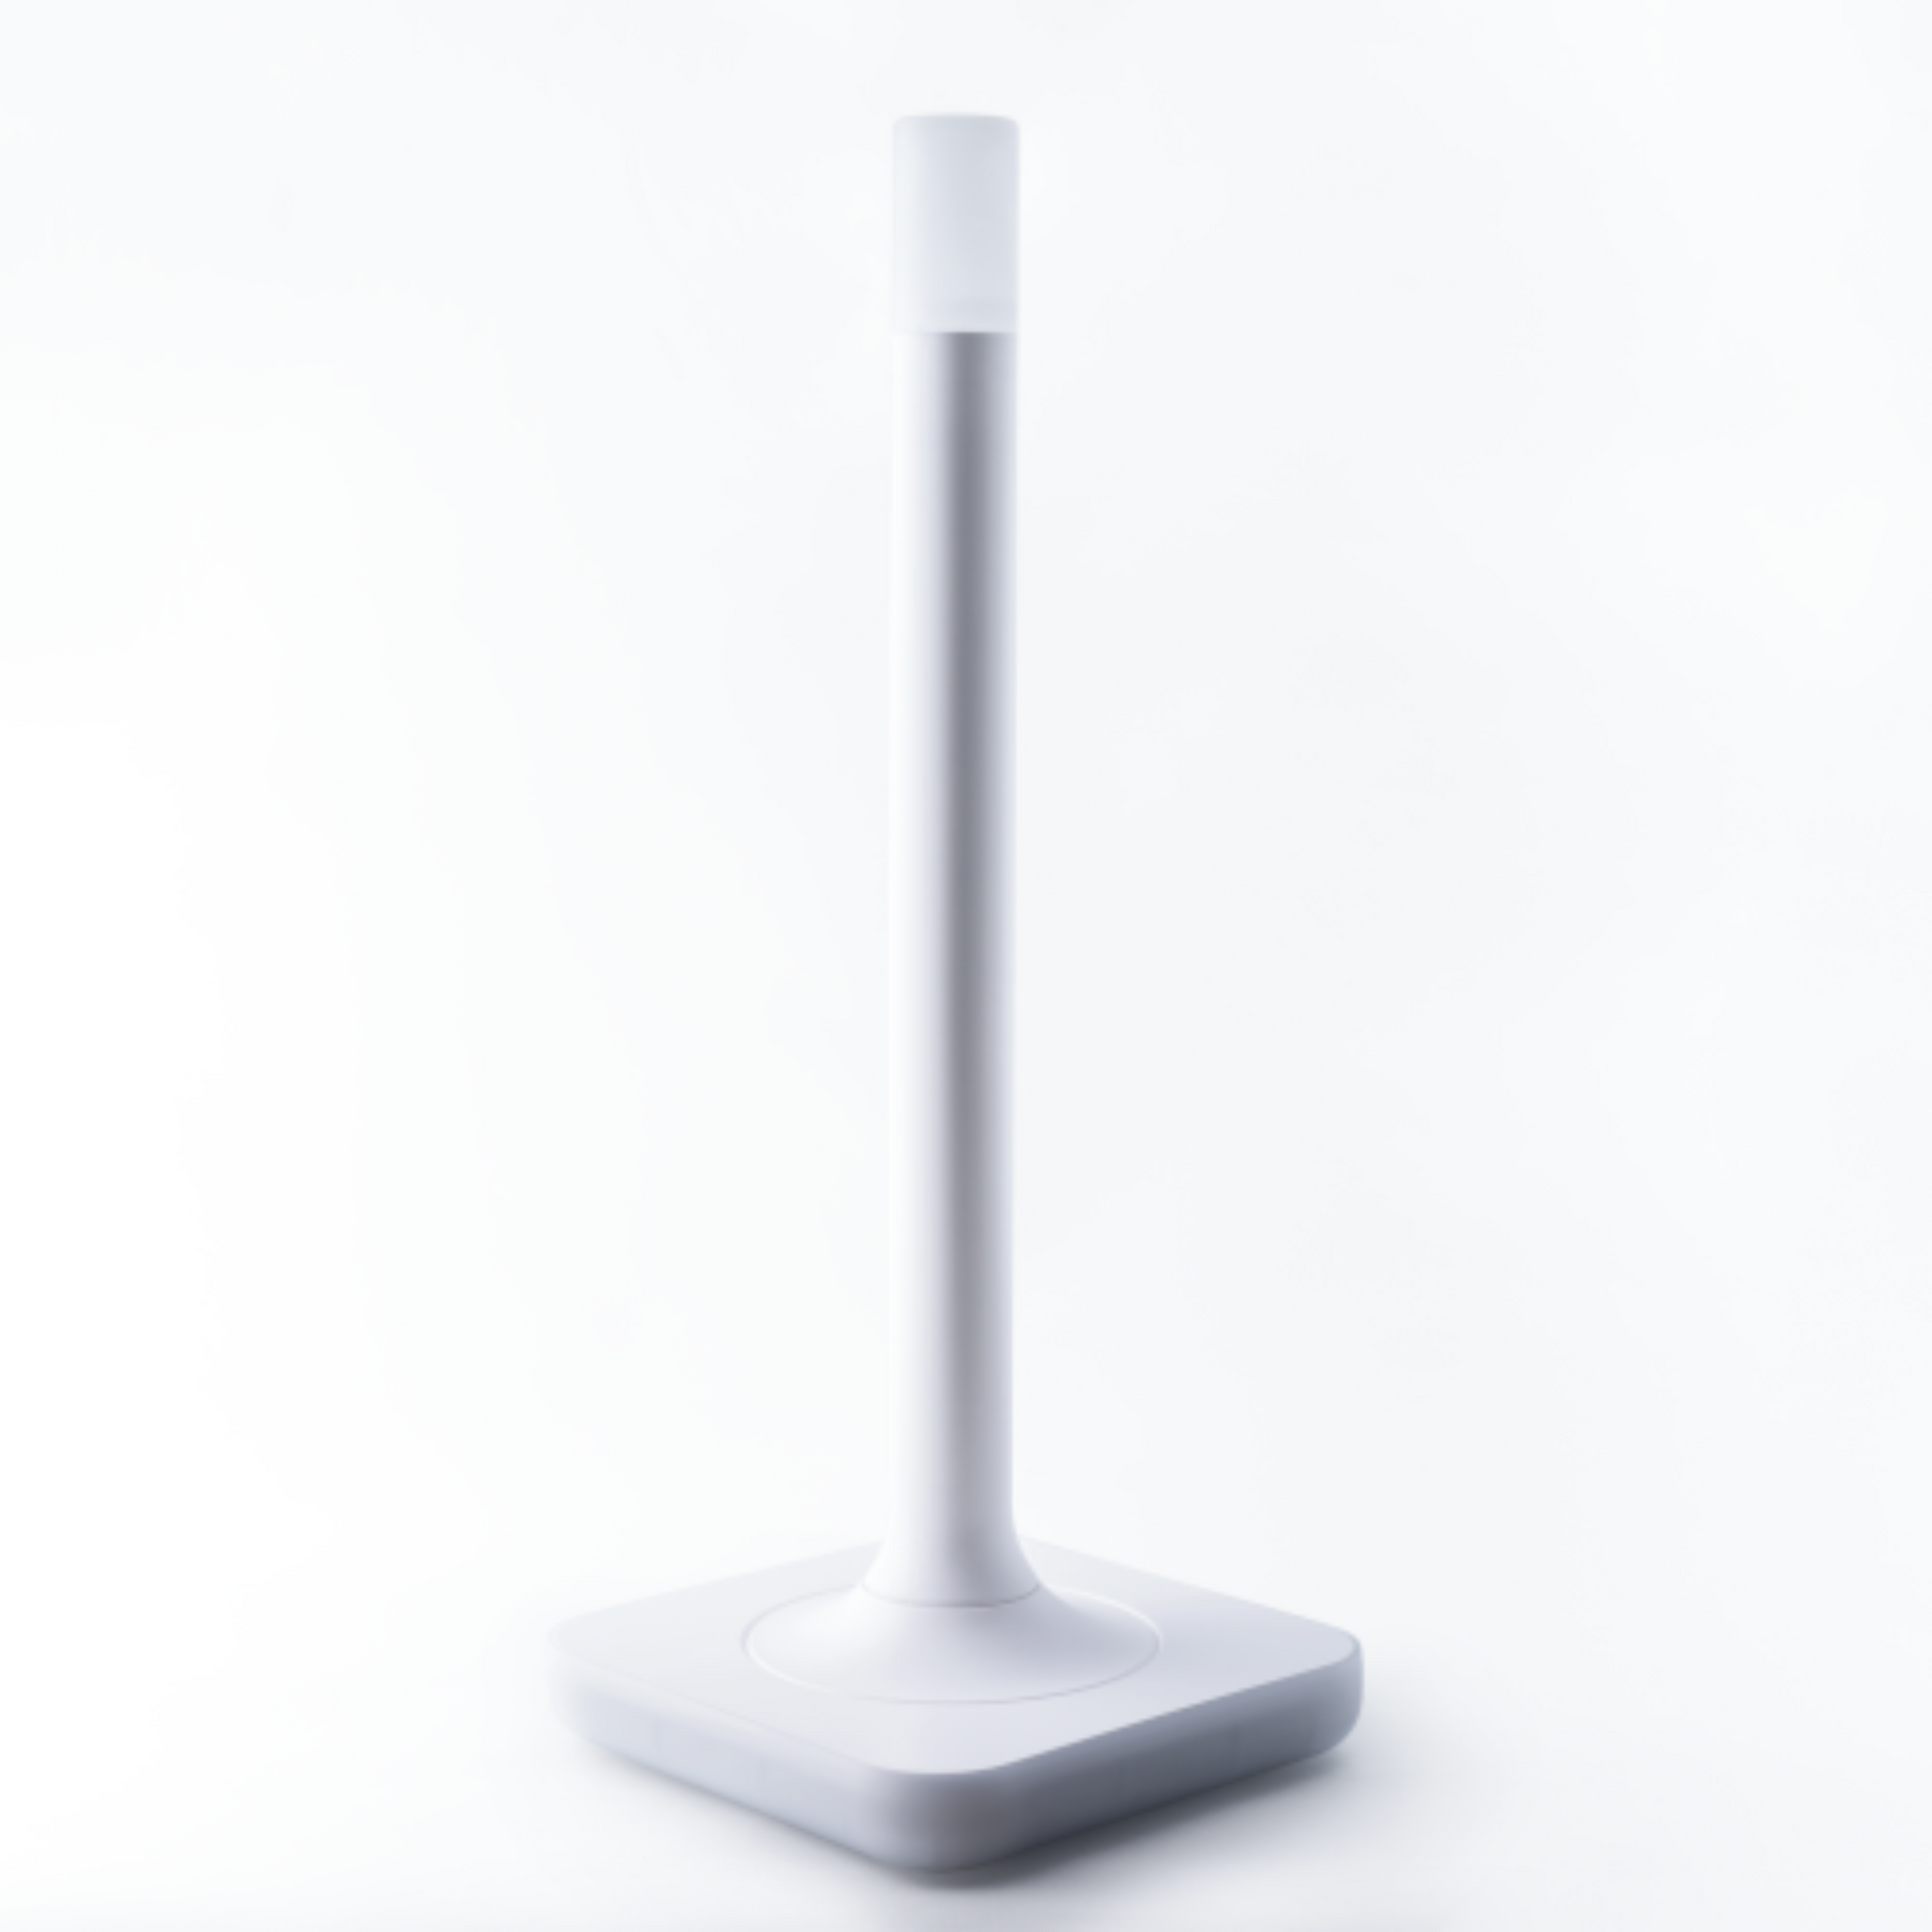
- The antenna must be positioned vertically (LED facing up or down if ceiling mounted)
2. Device Mounting

The ZWA-2 includes a complete mounting kit for a secure and professional installation. The flashing yellow LED indicator signals if the antenna is not in the optimal vertical position.
3. Connection to Home Assistant

For New Z-Wave Users:
- Connect the USB-C cable to the ZWA-2 and the USB-A to your Home Assistant Green
- Home Assistant will automatically detect the device
- Go to Settings > Devices and Services
- Follow the Z-Wave JS guided configuration
- The frequency automatically adapts to your geographic location
For Users with an Existing Z-Wave Network:
The ZWA-2 supports full migration from 500 series, 700 series, and Nortek HUSBZB-1 controllers:
- Back up your existing Z-Wave network
- Disconnect the old controller and connect the ZWA-2
- Restore the backup via Z-Wave JS or Z-Wave JS UI
- All devices and configurations will be preserved
4. Advanced Configuration
Radio Frequency Override
By default, the ZWA-2 is set to EU Long Range. For users outside the EU:
- With Z-Wave JS add-on: the region adapts automatically
- With Z-Wave JS UI: manually configure the region in the settings
Status LED Customization

- Go to Settings > Devices and services
- Select Z-Wave and find Home Assistant Connect ZWA-2
- Under "Controls", select the light and choose the desired color
Management and Maintenance
Firmware Updates
Firmware updates can be installed directly through Home Assistant by uploading the firmware file in the Z-Wave devices section.
Z-Wave Network Backup
It is recommended to perform regular backups of your Z-Wave network that include:
- Network information
- Paired devices
- Custom configurations
Performance Verification
Monitor signal quality via RSSI values:
- Ideal values: between -100 and -110 dBm
- If values are not optimal, reposition the device
Frequently Asked Questions
What is the difference between Z-Wave mesh and Z-Wave Long Range?
Z-Wave mesh creates a network where devices repeat the signal to each other, ideal for medium-sized homes. Z-Wave Long Range communicates directly with the controller over greater distances, perfect for large properties or commercial installations with thousands of devices.
Can I disable the tilt indicator (flashing yellow LED)?
Yes, although it is not recommended for optimal performance. You can disable it in the device settings by first enabling the "enableTiltIndicator" entity and then disabling it.
How can I check for interference in my installation?
Check the "background RSSI" values in the device diagnostics. Ideal values are between -100 and -110 dBm. If values are not optimal, move the device away from potential sources of interference.
What are the default power levels per region?
- EU: Normal +13 dBm, Long Range +14 dBm
- US: Normal -1 dBm, Long Range +20 dBm
- Other regions: See the complete documentation
Complete Technical Specifications

| Model | NC-ZWA-9734 (A17C1) |
|---|---|
| Supported Protocols | Z-Wave, Z-Wave Long Range (800 Series) |
| Processors | Silicon Labs ZG23 + ESP32-S3 (USB-serial bridge) |
| Frequency | 860-930 MHz (region adaptive) |
| Antenna | 3.38 dBi omnidirectional |
| Power Supply | USB-C, 5V DC, 1A |
| Dimensions | 125 x 125 x 315 mm |
| Weight | 350g (600g with packaging) |
| Operating Temperature | 0°C to 65°C (indoor use only) |
| Certifications | CE, FCC (ID: 2A8ZE05), RCM |
| Warranty | 10 years |
Package Contents

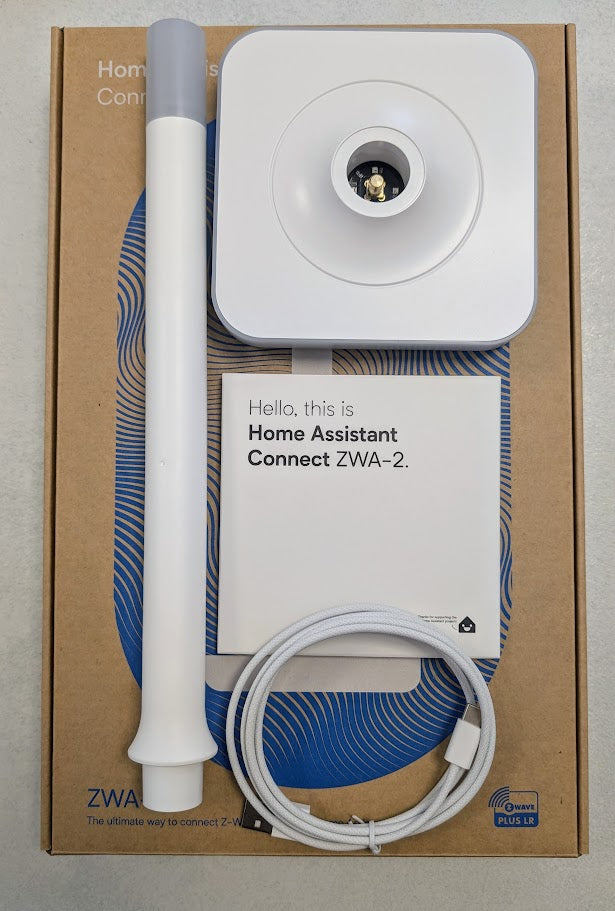
- 1x Home Assistant Connect ZWA-2
- 1x USB-A to USB-C Cable
- 1x Quick Installation Guide
Support and Resources
- 📖 Complete official documentation
- 🌐 Nabu Casa product page
- 💬 Z-Wave JS integration documentation
- 📺 Dinamotech YouTube channel (video tutorial coming soon)
Revolutionize your home automation with uncompromising Z-Wave performance. Order the Home Assistant Connect ZWA-2 on Dinamotech.it now and discover what it means to have a truly reliable Z-Wave network!